Jackie Sewalong - How to cut knit fabric

Working with knits is very different from working with woven fabric. From laying it out to notching, there are a few tricks to learn. In this post, we'll teach you how to lay out your fabric, cut, notch and transfer pattern marks. By the end of this post, you'll be ready to cut out your Jackie dress!
PRETREAT YOUR FABRIC:
Since knits can shrink, you'll want to make sure that you pretreat your fabric according to the same method of care you intend to use for your final garment. You will want to consider your fiber content here to determine what method is best for your fabric. If you are machine drying it, remove it from the dryer as soon as the cycle finishes so that you don't end up with a wrinkly pile of fabric to press. You can also preshrink your interfacing with a gentle hand wash and air dry.
If you need to press your fabric before cutting, be careful not to stretch the knit out of shape. The less you can handle it before cutting, the better. When pressing your fabric, press along the lengthwise grain; this probably goes without saying, but don't pre-press your interfacing ;)
Laying Out Your Fabric:
Ok, let's get out the cutting layouts from our pattern instructions. If you haven't done this before, you're going to need to know:
- Your garment version
- Your size
- Your fabric width
These three things will allow you to select the cutting diagram for your project. You can now prepare your fabric layout according to your instructions.
All of the diagrams for this pattern suggests for you to double layer your fabric, which means that we will fold the fabric in half along the lengthwise grain and match the selvage edges together. A double layer layout will give us a left and a right piece for all pieces placed away from the fold and a full mirrored piece for those placed on the fold.

On a little side note, most fabric layouts suggest for you to place fabric with right sides facing. My preference is to lay fabric with the wrong sides together so that the right side of the fabric is facing me. I do this because I often cut with prints and depending on the fabric, it can be less visible on the wrong side. I like to see where certain aspects of that print are going to lay on the pattern piece and when the right side is facing outward, I have more creative control of my placement as I can see the fabric design. I also find it easier to mark the wrong sides of the fabric when transferring pattern marks. With that said, in this layout, it doesn't make a difference whether your fabric is right or wrong side together, so do what you're most comfortable with.
If you can't tell the difference between the right and wrong side, pick a side and make sure to mark the "wrong" side of your fabric once the pieces are cut out so that you don't get mixed up as you sew.

It is more than likely that the cut edge of your fabric will not align; this is because it was cut crookedly when the fabric was purchased. The following two photos show an example of this. Here, the fabric is folded in half so that selvage edges are aligned. The ends with the uneven cuts are offset so that the fabric will lay flat; otherwise, the folded edge will warp.


If you lay out your fabric and the folded edge is warped, as in the photo below, shift the top layer of the fabric up or down as needed until the fabric lays flat.

After I had washed my fabric I found that my selvage shrunk and cause puckering along the selvage edge. If you encounter this, just cut notches into your selvage a few inches apart; this will release the puckers and allow the fabric to lay flat.

Selvage with puckers due to shrinkage.

Cut notches along the selvage edge to release puckers.
Once the fabric is laid out on the table, match your selvage edges together and align them to the straight edge of your table; this will ensure that your grainline is straight. Make sure that the fabric is smooth and that wrinkles do not form along the fold line.
The Jackie dress requires a long length of fabric and will be too long to fit onto your table. Letting the fabric hang off the table will cause the fabric to stretch and distort as you cut the fabric. Instead, neatly roll up the remaining fabric at one end and place on the table. Unroll it when you're ready to cut the other pieces.
It's best to let the laid out fabric sit for a few hours as the stretch will need to settle back into place before cutting.
Once you have laid out the fabric neatly, you can place your pattern pieces.

LAYING OUT YOUR PATTERN:
Follow the layout diagram and begin placing your pieces onto your fabric. Make sure to align your grainline to the selvage edge by the same measurement on either end of the grainline.

Pinning
I like to pin my pattern pieces in place, but you may prefer to use weights. When you pin the pattern to the fabric, insert the pins parallel to the pattern edge. Place pins 5-7" (12-18 cm) apart and make sure to pin at the corners.

Alternatively, you may also choose to weigh the pattern down and chalk along the edge of the fabric. Doing this allows you to remove the pattern and cut along the chalk line. If you use this method, make sure to transfer the notches and pattern markings before removing the pattern.

When laying your pieces along the fold, make sure that it's right up to the folded edge; otherwise, you will be changing the fit of your garment.

Cutting
I like to cut with shears with the pattern still pinned to the fabric. If you like, you can use a rotary cutter, which is lovely for knits, but make sure to use a cutting mat underneath. Also, keep your little fingers away from the blade, they're very sharp. I tend not to use a rotary cutter because I don't like moving my cutting mat from underneath my fabric as I cut, but you do whatever works best for you.

Notches
Once each piece is cut out, make sure to notch it. Some knits have a tendency to run, so before you cut notches into your fabric, test on a scrap piece to see if your fabric is safe to notch. If so, cut a tiny notch at a depth of 1/8" (.3 cm). Since our seam allowance is 1/4" (6 mm), we need to make sure we aren't cutting into the body of our pieces. If your fabric does run, mark your notches on the wrong side of the fabric with a wax marker, or something water soluble that will remain visible on your fabric for the duration of construction.

Cut notches for knits at a short depth of 1/8" (3 mm)

Transferring pattern marks:
There are some marks on the pattern that you will need to transfer onto the fabric after the interfacing is applied. I'll remind you to do that when the time comes for it.
For transferring pattern marks, I like to use carbon paper and a tracing wheel to transfer your marks. I make a small X at each mark.


YOU MAY ALSO LIKE:

1 Response
Leave a comment
Comments will be approved before showing up.
Also in The Victory Patterns Blog

Pair the Sofia Bell Sleeve Strap with any sleeve option
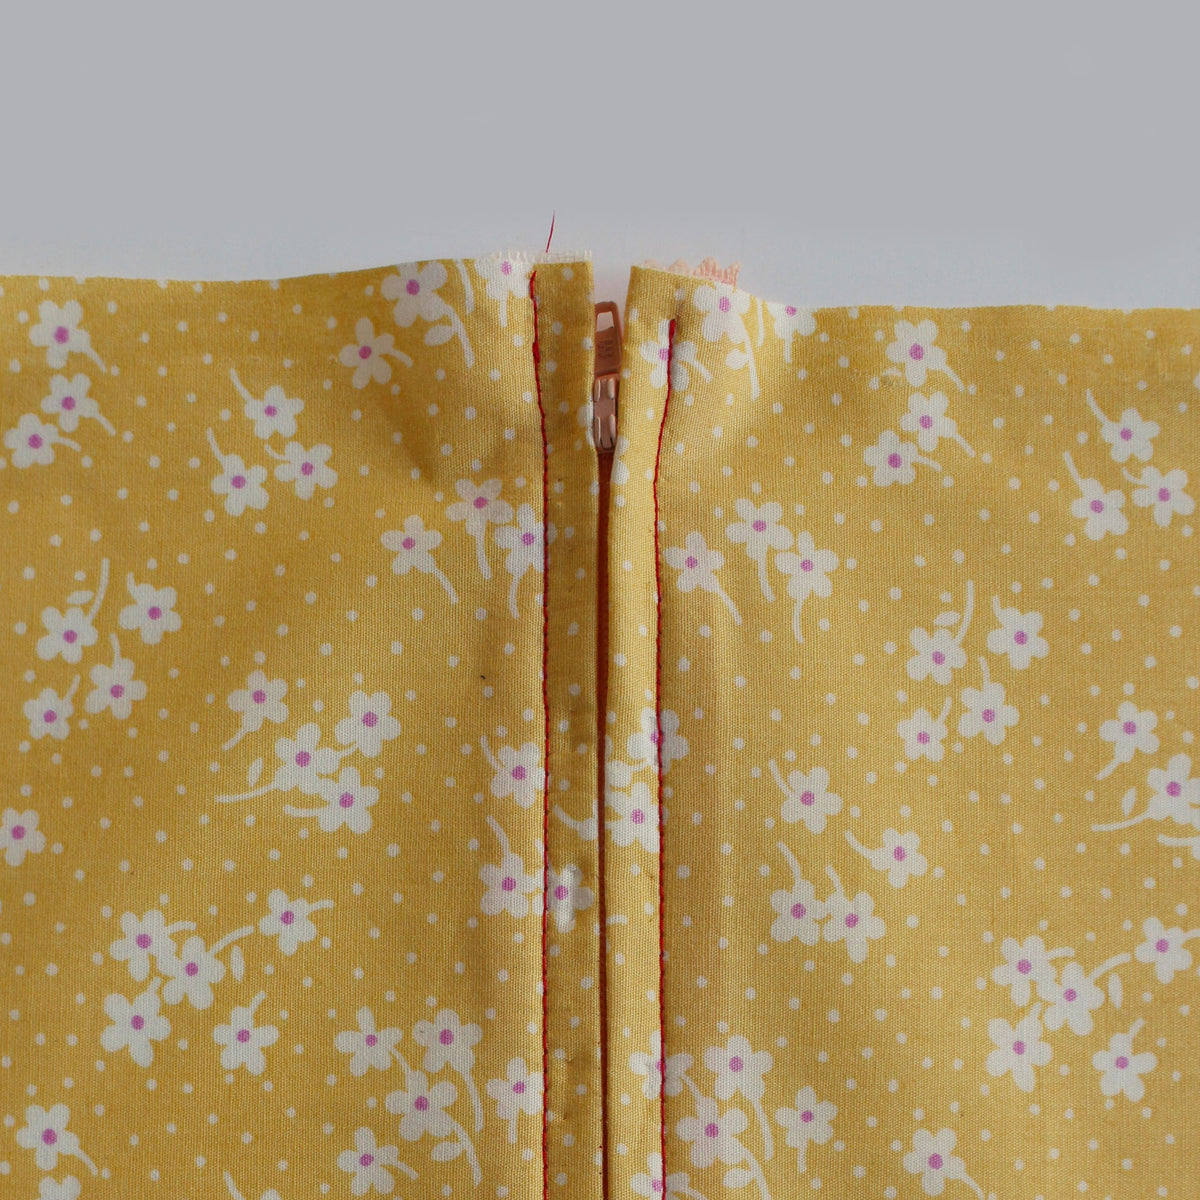
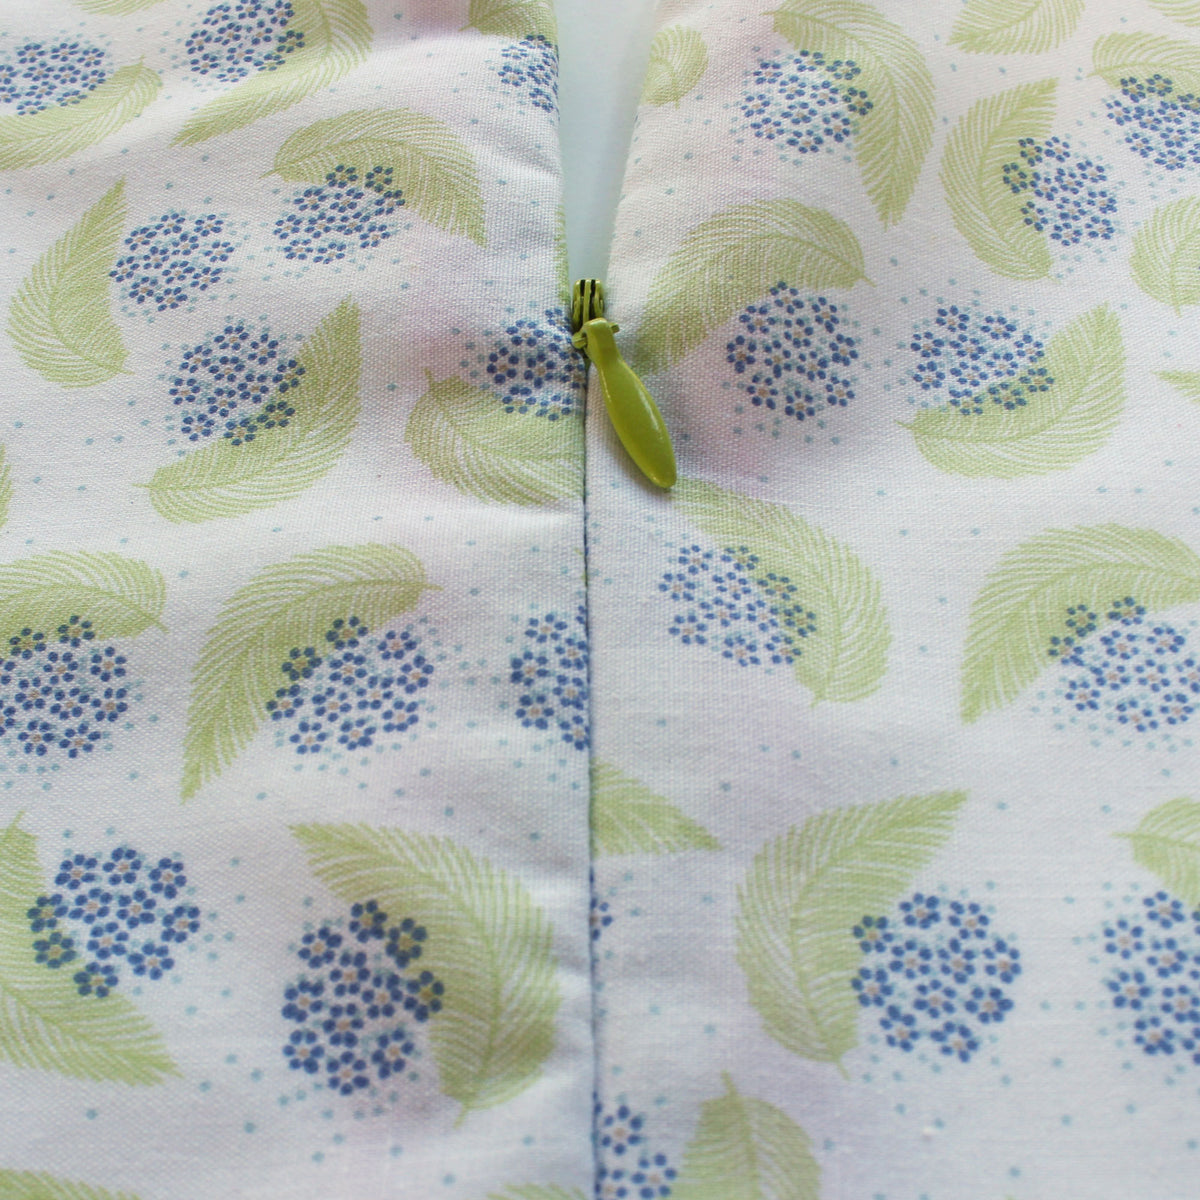
How to sew a centered zipper
A centered zipper is one of the most usefull zippers to be able to sew. They are commonly used in skirts, dresses, and pants, as well as cushion covers and handbags. In this tutorial, we'll show you how to sew a centered zipper using directional sewing, which avoids the fabric from shifting in different directions once the zipper is sewn in.
Jen
March 25, 2022
Thanks so much for this. I am about to use knit fabric for the first time and found this very helpful.
———
Victory Patterns replied:
I’m so thrilled to hear that you found this helpful! Thanks for letting us
know :)
<https://victorypatterns.com/>
<https://instagram.com/victorypatterns/>
<https://www.pinterest.ca/VictoryPatterns/>
<https://www.facebook.com/victorypatterns>
<https://twitter.com/VictoryPatterns>